Getting an account on the RSP#
Things to know before you get started#
Rubin data rights are required in order to hold an account in the Rubin Science Platform. All scientists and students affiliated with an institution in the US and Chile have data rights, as well as the international scientists and students whose names appear on the list of international data rights holders. For more information about data rights, please refer to the Rubin Observatory Data Policy. If you’re not sure if you have data rights, contact Melissa Graham at mlg3k@uw.ed or with a direct message in the Rubin Community Forum.
The Rubin Science Platform (https://data.lsst.cloud/) uses the CILogon service (operated by NCSA) in order to allow you to gain RSP access with your institutional identity (via the InCommon federation) or certain other participating providers (such as GitHub or ORCiD). Simply put, our system asks your institution’s system if you are who you say you are.
You must have an account with one of the supported institutions or organizations to use the RSP If you have account issues (such as needing to reset your password) you should follow up with your institution as normal. Rubin staff do not have access to your password or any other data from your institutional account besides your name.
Our Acceptable Use Policy is in plain language — you should review it; your access is contingent on abiding by it.
Video#
This video shows the steps for creating a new account on https://data.lsst.cloud/:
Step-by-step#
RSP homepage:
Go to the RSP at https://data.lsst.cloud/ in your browser.
Click Log In at the upper right.

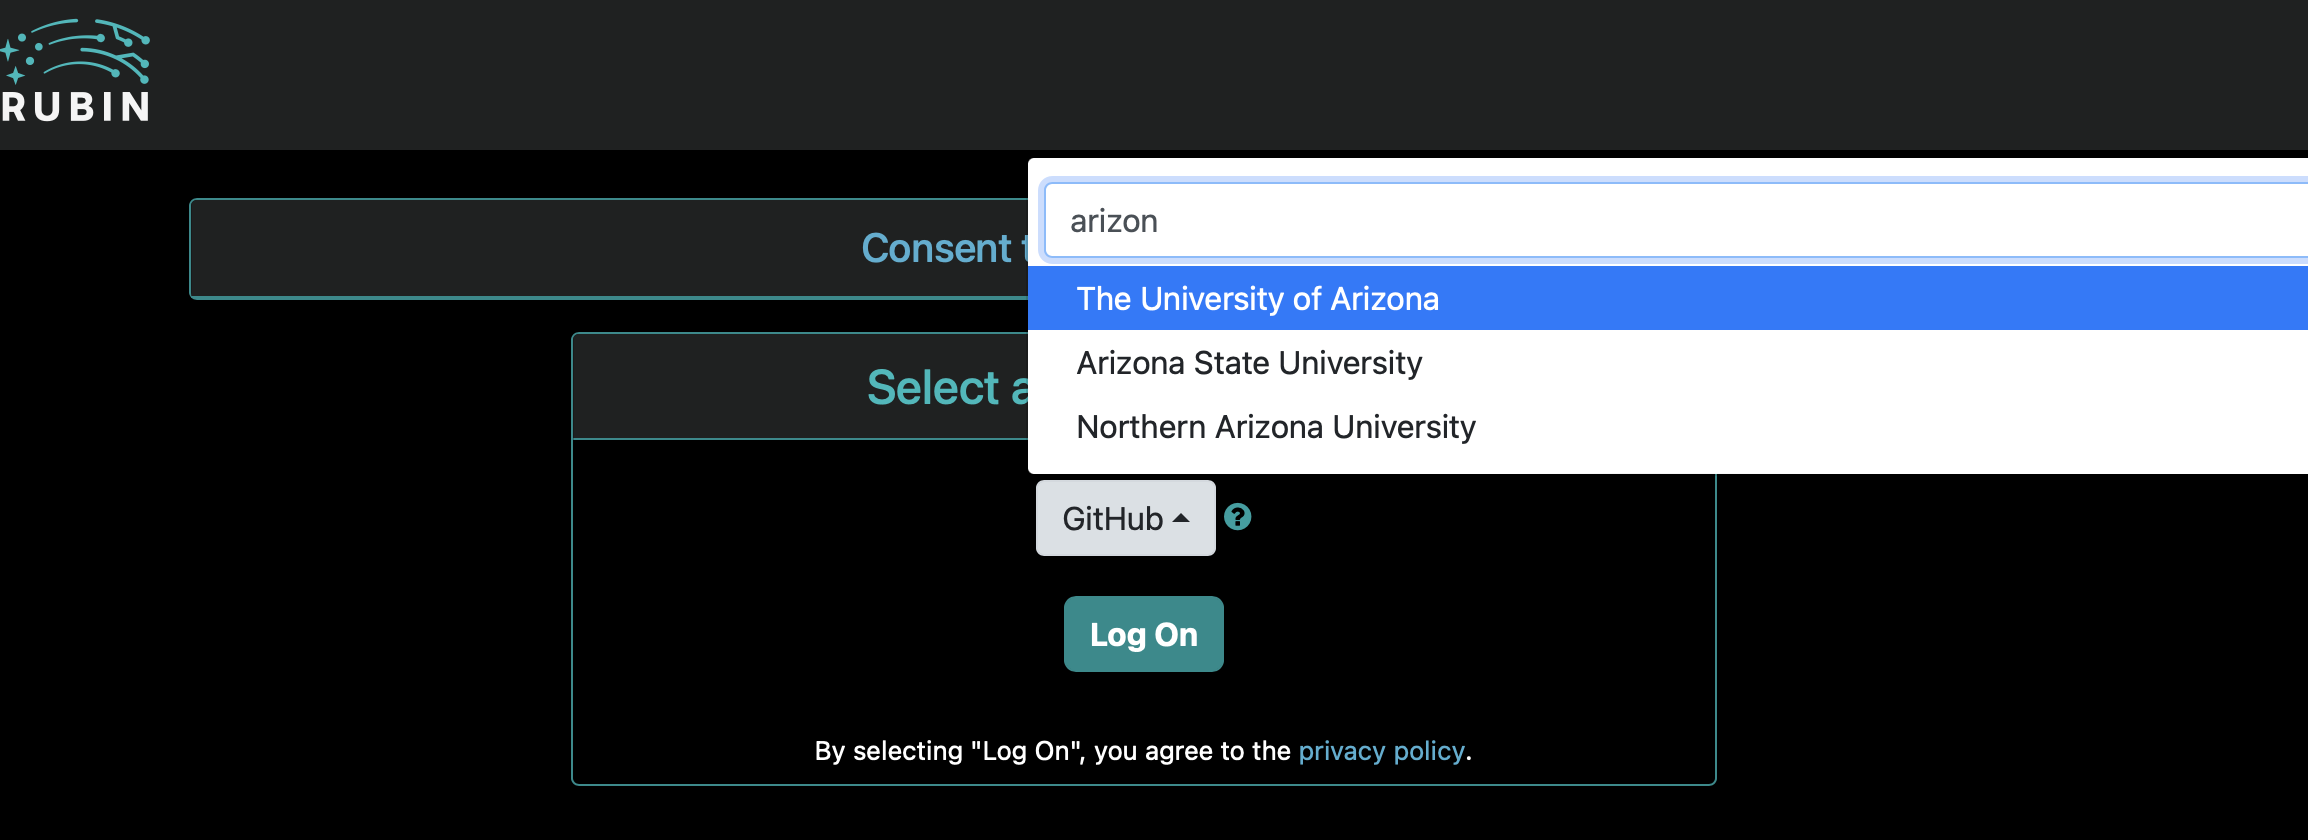
Identity provider choice page:
Chose an institution/provider with whom you have an established account.
You will be able to link additional identities later (if you have more than one).
Remember who you pick!

Institution login page(s):
You are forwarded to your selected institution.
Log on as you normally would.
If your institution has additional authentication steps (such as 2FA) you will have to complete those too.
RSP login page:
Chose whichever institution you picked above (should be set already - this is not the time to change your mind!). This looks deceptively like Step 2.

Self signup pages:
You can now start the self signup.
Provide your given and family name. We do not require your legal name; the reason you are being asked is to allow us to establish you are entitled to our data products. You should supply whichever name you use for publications or are known to your colleagues as.
Examples. If you go by your middle name, supply your middle name as the given name. If you publish as Lady Gaga, don’t sign up as Stefani Joanne Angelina Germanotta.
Provide any email you want provided you can immediately access it (for the confirmation). Additionally, using your institutional email address (instead of say, a Gmail account) helps our verification process; please do so if you can.
Email confirmation step:
You will receive an email to the address you provided. Please look out for it and click on the link inside it to complete the process.
Finishing steps:
Clicking on the link in your email will take you to a page where you can accept your invitation.
Your final job is to select a username; this has to be a valid Unix username.
This completes the account petition process; you will receive an email at the address you provided when your account access has been approved by the project.